How to Use 4DDiG Free Data Recovery
Our comprehensive guide walks you through the easy steps to free recover deleted or lost files from various storage devices, including hard drives, USB drives, and memory cards. Learn how to restore data from formatted partitions, damaged computers, and even the Recycle Bin.

4DDiG Free is designed to provide free data recovery with highest success rate. It supports recovery from diverse devices: local drives, external disks, lost partitions, BitLocker encrypted drives, even crashed computers and more. Additionally, 4DDiG Free data recovery has powerful photo and video repair capabilities. Download now for 2GB free recovery!
How to Get 2GB Free Data Recovery
First, we will show you how to get 2GB free data recovery quota.
![]() 100% Secure
100% Secure
![]() 100% Secure
100% Secure
-
Step 1:Download and install it
Download the 4DDiG Free software from the official website. Launch it after you finish installation. Then you can enter the home page of the program.

-
Step 2:Share on FB or Twitter
Click the "Share" icon here. On the Pop-up window, you can choose to share 4DDiG Free on FB or Twitter by clicking each button. After your sharing, program will notice you that you've got extra 1.5GB data recovery for free. Since this freeware already set 500MB free recovery, you can get 2GB free quota in total.

-
Step 3:Ready for free data recovery
Back to the home page and choose a location where you lost your important data. Now you can start your data recovery for free.

Register to Use Full Features
If you want to recover data more than 2GB, you need to upgrade to pro version and register Tenorshare 4DDiG. Here is the guide!
![]() 100% Secure
100% Secure
![]() 100% Secure
100% Secure
-
Step 1:Find your registration code
You will receive an email once you purchase a license. And you can find and copy the registration code for later use.

-
Step 2:Open the registration page
Click "register" icon from the main page of the program, and you can enter into the registration page.

-
Step 3:Type registration info
Type the email address and paste your registration code here. Click "Register" button once you confirm all info.

Note: If you haven't purchased yet, click the "Buy Now" button below to enter a purchase page. After that, you can get the registration code of a full version.
-
Step 4:Check license plan
A prompt will appear when you finish Registration. You need to check if you've got the correct license plan.

Recover Data from Local Disk
Have you accidentally deleted files or experienced hard drive failure? Don't worry! Data recovery from local disks is often possible. Whether your hard drive is corrupted, malfunctioning, or you've simply delete files by mistake, this guide will show you how to recover data from local drives easily.
![]() 100% Secure
100% Secure
![]() 100% Secure
100% Secure
-
Step 1:Select a local drive
After installing and launching 4DDiG Free Tool, select "Hard Drive" on the home screen. Hover over the local disk where you lost data.
-
Step 2:Scan the Selected Drive
Click “Scan” button to initiate a comprehensive scan. You can also choose certain file types for quick scan, such as photo, video, document and etc. In this scan process, you can click pause or stop at any time. Explore the scan results using "Path" or "Type" view. Utilize the search bar or filter options to quickly find specific files.

-
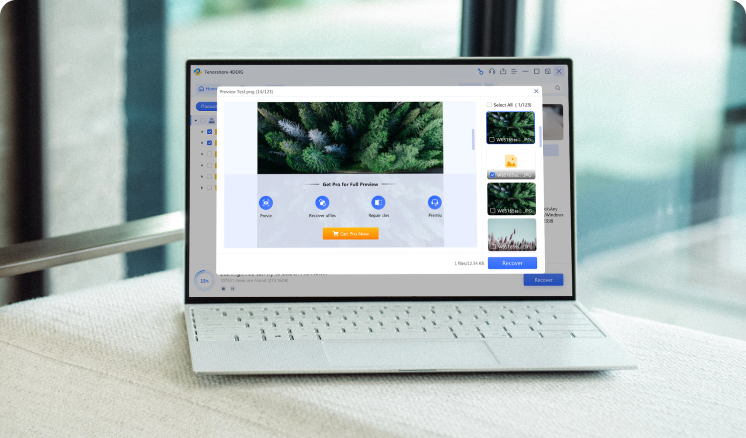
Step 3:Preview and Recover Files
Preview the recovered files to ensure their integrity. Choose a safe location (preferably a different drive) to save the recovered files. Avoid saving them to the original partition to prevent data overwriting and permanent loss.

-
Note:Easily save your recovered data to your local computer or Google Drive for convenient access.

-
Preview a Photo

-
Preview a Video

-
Preview an Audio File

-
Preview a PowerPoint File

-
Preview a Word File

-
Preview an Excel File

-
Preview a PDF File

Detailed Video Guide
![]() 100% Secure
100% Secure
![]() 100% Secure
100% Secure
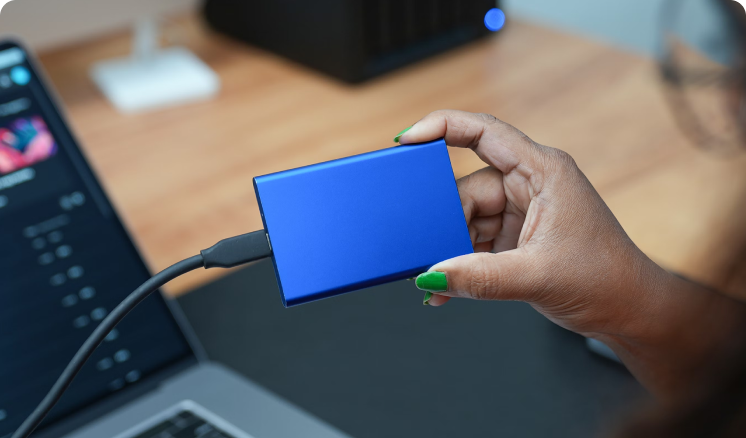
Recover Data from External Hard Drives
Do you want to recover lost data from your external hard drive for free? 4DDiG Free Data Recovery supports various brands, including Buffalo, WD, Seagate, Toshiba, Samsung, etc. It recovers data lost due to accidental deletion, formatting, virus attacks and more. Here, our simple 3-step guide will walk you through the recovery process.
![]() 100% Secure
100% Secure
![]() 100% Secure
100% Secure
-
Step 1:Prepare Your External Drive
Begin by installing Tenorshare 4DDiG Free Tool on your PC. Once installed, physically connect your external hard drive to an available USB port. Open the software and choose the specific external drive from the list of recognized devices. Click scan to start searching for recoverable data.

-
Step 2:Scan the External Drive
4DDiG will begin a comprehensive scan of your external hard drive to locate lost data. You have the flexibility to pause or stop the scan at any time if you've found the files you need. The scan results will be organized by "Path" and "Type" for easy navigation. You can also use the search bar in the top right corner to quickly find specific files.
-
Step 3:Preview and Recover
After the scan completes, preview the found files to ensure they are the ones you need. Then, choose a safe location (preferably a different drive) to recover them. Recovering files to the same partition where they were lost may result in permanent data loss.
-
Note:Easily save your recovered data to your local computer or Google Drive for convenient access.
-
Preview a Photo
-
Preview a Video
-
Preview an Audio File
-
Preview a PowerPoint File
-
Preview a Word File
-
Preview an Excel File
-
Preview a PDF File
Detailed Video Guide
![]() 100% Secure
100% Secure
![]() 100% Secure
100% Secure
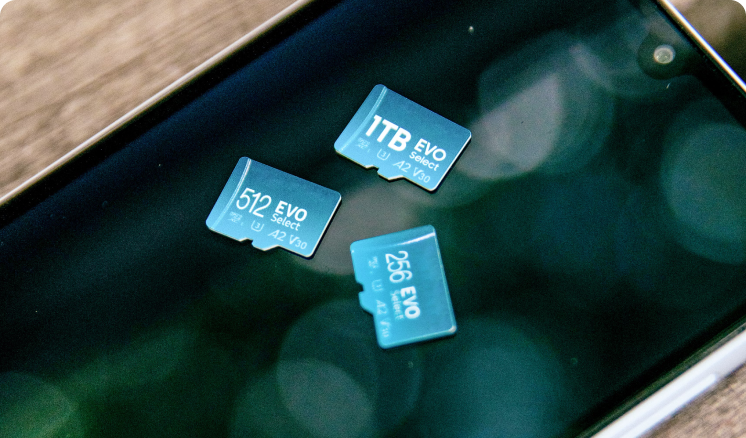
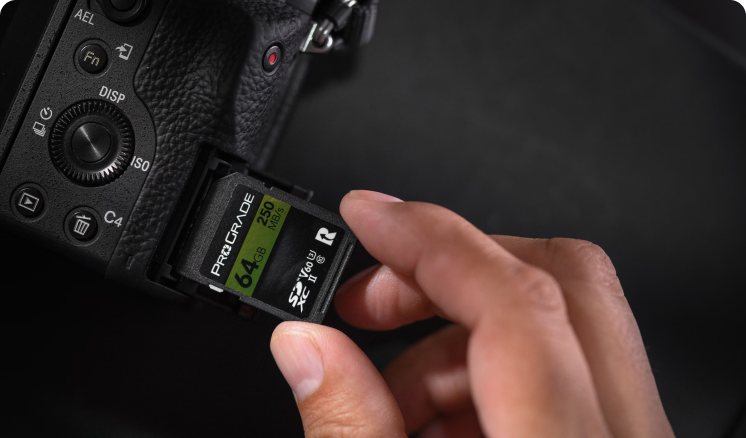
Recover Data from SD Card
Accidentally lost your precious photos and videos from SD card? 4DDiG Free Data Recovery can help you restore them with ease. Follow these simple steps to get started.
![]() 100% Secure
100% Secure
![]() 100% Secure
100% Secure
-
Step 1:Connect Your SD Card
Ensure your SD card is firmly connected to your computer. If necessary, use a card reader. If 4DDiG Free doesn't detect it, simply click 'Refresh' to detect again.

-
Step 2:Choose File Types
After your SD card is displayed, click 'Scan' to start searching for lost files. You have the option to select specific file types, such as photos and videos.

-
Step 3:Start to Scan
4DDiG will conduct a thorough scan of your SD card to find recoverable data. The scanning time depends on the size and condition of the card. You have the flexibility to pause or stop the scan at any time if you locate the files you need.
-
Step 4:Preview and recover data
Preview files before recovery to ensure their quality. To prevent data loss, never save recovered files to their original location. Choose a different drive or partition for a safe recovery.
-
Note:Easily save your recovered data to your local computer or Google Drive for convenient access.
Detailed Video Guide
![]() 100% Secure
100% Secure
![]() 100% Secure
100% Secure
Recover Data from Recycle Bin
Accidentally deleting files can be a devastating experience, especially when the Recycle Bin has been emptied. While the Recycle Bin aims to prevent data loss, it's not always foolproof. Tenorshare 4DDiG provides a reliable solution, enabling you to recover files even after they've been permanently removed from the Recycle Bin. To enhance the recovery process, 4DDiG offers two efficient scan modes: all-around scan and deep scan. This allows for quick data retrieval without compromising the thoroughness of the search.
![]() 100% Secure
100% Secure
![]() 100% Secure
100% Secure
-
Step 1:Choose Recycle Bin
To begin, download and install 4DDiG Free Data Recovery. Once installed, launch the program and select "Recycle Bin" as the target location. Click "Start" to initiate the scanning process.
-
Step 2:Scan the Recycle Bin
4DDiG Free comprehensively scan the Recycle Bin for lost data. You pause or stop in the scanning process. The scan results will be presented in two views: Path View and Type View. To efficiently locate specific files, you can utilize the search function or apply filters.
-
Step 3:Preview before Recovery
Upon completion of the scan, preview the recovered files to check if they are what you need. To prevent accidental data overwriting, save the recovered files to a secure location, such as an external drive or a different partition.
-
Note:Easily save your recovered data to your local computer or Google Drive for convenient access.
Detailed Video Guide
![]() 100% Secure
100% Secure
![]() 100% Secure
100% Secure
Recover Data from Lost Partition
Partition loss can happen due to a number of factors, leading many users to believe that their data is permanently lost. However, Tenorshare 4DDiG's free data recovery tool offers a solution, enabling you to recover data even from seemingly lost partitions.
![]() 100% Secure
100% Secure
![]() 100% Secure
100% Secure
-
Step 1:Locate Your Lost Partition
Download and install Tenorshare 4DDiG. Launch the program, and it will automatically detect your lost partition. Select the partition and choose the file types you wish to recover.

-
Step 2:Initiate the Scan
4DDiG will then initiate a comprehensive scan of the lost partition. You can pause or stop the scan at any time. The results will be organized by "Path" and "Type" for easy navigation. Utilize the search bar or filters to quickly locate specific files.
-
Step 3:Preview and Recover
Preview the recovered files to ensure their integrity. To prevent data loss, avoid saving recovered files to the original location. Choose a different drive or partition for a safe recovery.
-
Note:Easily save your recovered data to your local computer or Google Drive for convenient access.
![]() 100% Secure
100% Secure
![]() 100% Secure
100% Secure
Recover Data from BitLocker Encrypted Drives
BitLocker encryption enhances data security, but accidental formatting can lead to data loss. Tenorshare 4DDiG offers a solution to recover data from BitLocker encrypted drives.
![]() 100% Secure
100% Secure
![]() 100% Secure
100% Secure
-
Step 1:Select an Encrypted Drive
Launch 4DDiG and identify your BitLocker encrypted drive by the lock icon. Select the drive and click "Start."

-
Step 2:Unlock and Initiate the Scan
Enter the BitLocker decryption password when prompted. 4DDiG will initiate a comprehensive scan of the encrypted drive. Use the "Path" and "Type" categories, search function, or filters to efficiently locate your desired files. Pause or stop the scan at any time.

-
Step 3:Preview and Recover
Preview recovered files to ensure their integrity. To prevent data loss, save them to a secure location other than the original drive.
-
Note:Easily save your recovered data to your local computer or Google Drive for convenient access.
Detailed Video Guide
![]() 100% Secure
100% Secure
![]() 100% Secure
100% Secure
Enhanced Video Recovery
Don't panic over lost or corrupted videos! 4DDiG's Enhanced Video Recovery feature easily retrieves a wide range of video formats (mp4, mov, avi, etc.) from various devices (Canon, GoPro, Nikon, etc.).
![]() 100% Secure
100% Secure
![]() 100% Secure
100% Secure
-
Step 1:Select "Enhanced Video Recovery"
Download and launch 4DDiG. Select "Enhanced Video Recovery" and choose the drive where your videos were lost.

-
Step 2:Choose Formats and Device
Select the video formats you're looking for and, if possible, the device they originated from for optimized recovery.

-
Step 3:Scan for Lost Videos
4DDiG will quickly scan the selected drive to find your lost videos. You can pause the scan at any time when you find them.

-
Step 4:Preview and Recover Videos
Preview recovered videos and save them to a secure location.

-
Note:Easily save your recovered data to your local computer or Google Drive for convenient access.
![]() 100% Secure
100% Secure
![]() 100% Secure
100% Secure
Recover Data from a Crashed Computer
A system crash can be a distressing event. Before seeking professional repair, prioritize recovering your vital data. Tenorshare 4DDiG offers a straightforward solution to retrieve your files.
![]() 100% Secure
100% Secure
![]() 100% Secure
100% Secure
-
Step 1:Prepare for Recovery
Before proceeding, ensure you have the following: another working computer, a blank USB drive (or CD/DVD) with at least 1.5GB of space, and the 4DDiG Data Recovery program installed on the working computer.
-
Step 2:Connect and Select
Launch 4DDiG on your working computer and connect your USB drive. Select "Crashed PC" from the main interface and click "Start."
-
Step 3:Create a Bootable Drive
Choose your USB drive (or CD/DVD) as the destination for the bootable drive and click "Create." Note: This will format the USB drive/DVD. Avoid using the drive during the creation process.


-
Step 4:Create Bootable Drive
Once the bootable drive is created successfully, insert it into the crashed computer and restart the system. Press the appropriate key to access the BIOS settings.

-
Step 5:Boot from Bootable Drive
In the BIOS settings, navigate to the Boot tab and select your USB drive (or CD/DVD) as the boot device. The crashed computer will then load 4DDiG.
-
Step 6:Recover Your Data
4DDiG will launch automatically. Select a location to save your recovered data. For optimal data security, we highly recommend saving to an external drive instead of the local disks of the crashed computer.
-
Note:Easily save your recovered data to your local computer or Google Drive for convenient access.
Detailed Video Guide
![]() 100% Secure
100% Secure
![]() 100% Secure
100% Secure
Photo Repair
Corrupted photos? No problem! Tenorshare 4DDiG, a powerful photo recovery tool, can effortlessly repair distorted, blurry, pixelated, and greyed-out images in bulk. Follow these simple steps to bring your cherished photos back to life.
![]() 100% Secure
100% Secure
![]() 100% Secure
100% Secure
-
Step 1:Select Photo Repair
Download and install 4DDiG on your computer. Launch the program and select "Photo Repair" from the Utility Tools.

-
Step 2:Add Photos and Repair
Click "Add Photos" to import the damaged images. Then, click "Repair" to initiate the repair process.

-
Step 3:Preview and Export
After the repair process is complete, preview the restored photos. Once satisfied, click "Export" to save them to a safe location.

Detailed Video Guide
![]() 100% Secure
100% Secure
![]() 100% Secure
100% Secure
Video Repair
Don't let corrupted videos ruin your memories! Tenorshare 4DDiG free makes it easy to repair broken or unplayable video files. Follow these simple steps to bring your videos back to life.
![]() 100% Secure
100% Secure
![]() 100% Secure
100% Secure
-
Step 1:Select Video Repair
Download and install 4DDiG Free recovery tool on your computer. Launch the program and select "Video Repair" from left side.

-
Step 2:Add Videos and Repair
Click "Add Videos" to import the corrupted files. Then, click "Repair" to initiate the repair process.

-
Step 3:Preview and Export
After the repair is complete, preview the restored videos to ensure they're perfect. Finally, click "Export" to save them to a secure location.

Detailed Video Guide
![]() 100% Secure
100% Secure
![]() 100% Secure
100% Secure